
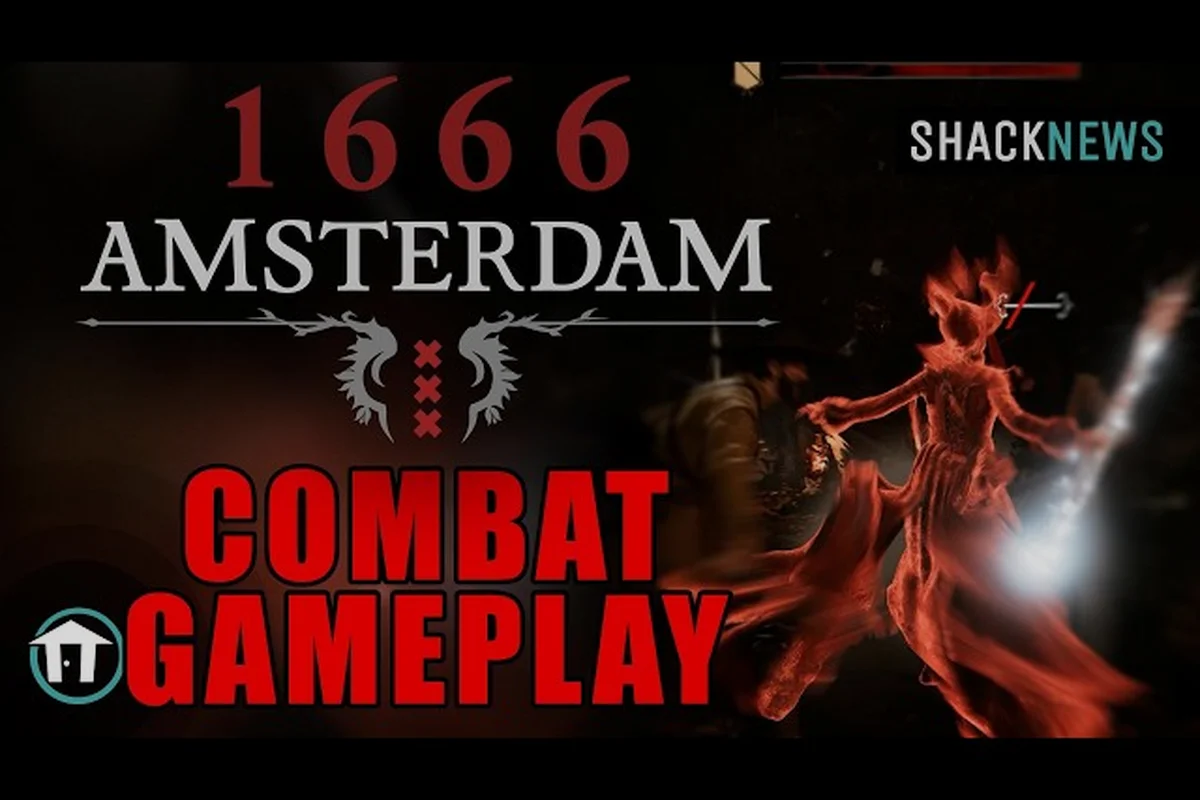
1666: Amsterdam combat asks you to balance two completely different toolkits: Noa's witchcraft and Aaron's feline instincts. The game, developed by Panache Digital Games under creative director Patrice Désilets, drops you into a handcrafted Amsterdam where demons hide behind human faces. You investigate by day, then face your demons at night — and that rhythm defines every fight you'll encounter. Understanding when to cast a spell versus when to slip past an enemy is the difference between a clean night and a messy one. This 1666 Amsterdam combat guide breaks down the full system so you know exactly what to prioritize in the Early Access build arriving August 25, 2026.
The Core Combat Loop: Day Investigation Meets Night Confrontation
The combat system in 1666: Amsterdam is built around a day/night cycle that directly shapes how you approach every encounter. During daylight hours, Noa moves through the city gathering clues, marking suspects, and identifying which citizens are actually Originals — demonic entities wearing human faces. This investigation phase matters more than most players expect, because the information you collect determines how many enemies you face when darkness falls.
According to the official 1666: Amsterdam Steam page, the game is a third-person, story-led action-adventure where Noa, the Collector, wields witchcraft to uncover these hidden demons. The dual-protagonist structure means you'll also control Aaron, whose feline abilities offer a completely different approach to conflict. Community reports from the prologue discussions suggest that players who rush through the day phase consistently struggle at night, while those who methodically mark enemies find the combat far more manageable.
The loop breaks down into three distinct phases: the daytime investigation segment, where you gather clues and identify suspects across Amsterdam's districts; the twilight preparation window, during which you allocate your limited spell slots and alchemical resources before committing to a confrontation; and the nighttime combat phase itself, where the game's magic system—rooted in 17th-century occult practices like sympathetic magic and protective wards—determines whether your carefully laid plans succeed or collapse under the pressure of a witch's counter-spells.
-
Investigate: Walk the streets, listen to conversations, and identify which NPCs behave suspiciously. Marking enemies during the day creates tactical advantages after sunset.
-
Prepare: Choose which spells to slot based on the enemies you've identified. Different Originals require different magical responses.
-
Confront: When night falls, the city transforms. Enemies patrol more aggressively, and you must decide between direct combat, stealth elimination, or avoidance.
This structure means combat isn't just about reflexes — it's about preparation. Players who treat the day phase as optional are essentially fighting blind. The game rewards methodical play, which is why our witchcraft guide emphasizes investigation as the foundation of every successful night.
Noa's Witchcraft: Spells, Casting, and Resource Management
Noa's magical arsenal is the heart of 1666 Amsterdam magic combat. Her witchcraft powers let you manipulate enemies, control space, and deliver devastating finishing blows — but every spell costs resources that don't regenerate quickly. Managing your magical economy is just as important as aiming your attacks correctly.
Understanding the Esbat Resource
The Esbat is the core resource that fuels all of Noa's spells. It builds slowly during combat and faster when you perform successful dodges or parries. Community testing suggests the Esbat meter fills roughly 15-20% faster when you chain perfect dodges consecutively, which creates a natural risk-reward loop: stay aggressive with evasion to build power, but don't get greedy and eat a hit.
| Spell Type | Esbat Cost | Best Used For | Risk Level |
|---|---|---|---|
| Reveal | Low | Exposing hidden enemies and weak points | Minimal |
| Bind | Medium | Rooting enemies in place for follow-up attacks | Low |
| Banish | High | Removing an Original from combat temporarily | Moderate |
| Collect | Variable | Absorbing demonic essence from defeated foes | Depends on situation |
The Reveal spell deserves special attention because it's your primary tool for identifying which enemies are actually Originals during night combat. Many players report wasting high-cost spells on regular citizens who were simply panicking, which is why casting Reveal first should become second nature. It costs almost nothing and prevents catastrophic resource waste.
Spell Synergy and Combos
The real depth of 1666 Amsterdam combat comes from chaining spells to trigger elemental reactions rather than spamming a single ability. For instance, pairing a Frost Nova with Chain Lightning on a waterlogged enemy doubles the shock damage and applies a brief stun, while weaving in Blood Hex before a Void Bolt amplifies the bolt's damage by 40% against cursed targets. A typical high-damage rotation looks like this:
-
Cast Reveal to confirm the target is an Original and expose its weak point.
-
Follow with Bind to root the enemy, creating a guaranteed opening.
-
Close distance and land two or three melee strikes while the enemy is helpless.
-
Finish with Banish if additional enemies are closing in, buying space to reposition.
This combo chain costs roughly 40% of your Esbat meter, which means you can execute it twice before needing to rebuild resources. Players who master this sequence report significantly faster clear times on night encounters. For a complete breakdown of every spell available, check our spells list guide which covers all abilities confirmed in the Early Access build.
Aaron's Feline Abilities: Stealth, Speed, and Assassination
While Noa handles direct magical confrontation, Aaron brings a completely different combat philosophy. His feline abilities emphasize stealth, vertical mobility, and surgical strikes. Understanding when to switch between protagonists is a core skill in 1666 Amsterdam combat, because some encounters are nearly impossible with the wrong character.
The Stealth Approach
Aaron can climb walls, leap across rooftops, and move silently through shadows. His Pounce ability lets you eliminate a single enemy instantly if you approach from above or behind while undetected. Community reports indicate that a well-executed Pounce consumes no resources and resets your stealth status, allowing for chain eliminations if you plan your route carefully.
| Situation | Noa (Witchcraft) | Aaron (Feline) | Recommended Choice |
|---|---|---|---|
| Single patrol enemy | Medium risk, uses Esbat | Instant kill, silent | Aaron |
| Group of 3+ enemies | High damage potential | Risk of detection | Noa |
| Enemy on elevated platform | Requires line of sight | Natural advantage | Aaron |
| Boss-type Original | Sustained damage needed | Weak against armored foes | Noa |
The tradeoff between protagonists creates meaningful decision points throughout the game. Aaron excels at thinning out enemy numbers before a fight, while Noa handles the heavy hitters that require magical damage. Players who stick with one character exclusively will hit walls, because the game clearly expects you to use both.
Combining Both Toolkits
The most effective 1666 Amsterdam combat strategies blend both characters in a single encounter. A typical approach involves starting with Aaron to eliminate two or three patrol enemies silently, then switching to Noa once the remaining Originals are alerted. This hybrid approach conserves Esbat for the fights that actually need it while removing the trash mobs that would otherwise drain your resources.
Timing the switch matters, because there's a brief animation lock when you swap characters. Community testing suggests the switch takes roughly 1.5 seconds, during which you're vulnerable. Plan your swaps behind cover or after eliminating the immediate threat. The dodge guide covers the evasion mechanics that keep you alive during these transition windows.
Enemy Types and Counter Strategies
Not all enemies in 1666: Amsterdam fight the same way. The Originals come in several varieties, each with distinct attack patterns, weaknesses, and optimal counter-strategies. Learning to identify an enemy type at a glance — even before casting Reveal — will dramatically improve your survival rate.
Common Enemy Archetypes
| Enemy Type | Attack Pattern | Weakness | Recommended Counter |
|---|---|---|---|
| Shambler | Slow, telegraphed swipes | Fire-based spells | Keep distance, punish after dodge |
| Stalker | Fast, lunging attacks | Light-based spells | Parry timing, then counter |
| Brute | Heavy, unblockable slams | Bind + melee combo | Root, then burst damage |
| Wisp | Ranged, evasive | Reveal + Banish | Expose, then eliminate quickly |
The Brute type deserves special attention because it's the most common enemy that players report struggling with. Its unblockable slam attack has a distinctive wind-up animation — the Brute raises both arms overhead for roughly two seconds before striking. This telegraph is your window to dodge sideways, not backward, because the slam creates a shockwave that covers a wide forward area. After the slam connects with the ground, the Brute is vulnerable for about three seconds, which is plenty of time to land a Bind and follow up with melee strikes.
Wisp enemies are the opposite problem — they're fragile but nearly impossible to hit with melee because they hover and dart away. The Reveal spell exposes their core, making them vulnerable to Banish, which removes them from combat entirely. Wasting melee swings on Wisps is a common beginner mistake that drains stamina without dealing damage.
Boss Encounters and Originals
The larger Originals function as mini-bosses scattered throughout the city. These encounters test everything you've learned about the combat system, because they combine multiple attack patterns and require sustained resource management. Community reports from the prologue suggest that boss fights typically last 3-5 minutes on a first attempt, dropping to 1-2 minutes once you understand the patterns.
Key boss mechanics to watch for: the Cursed Captain telegraphs his 3-hit combo with a distinct red glow before each swing, so dodge-rolling through the first strike puts you behind him for a free backstab window. The Witch of the Damned summons two spectral familiars that must be killed within 15 seconds, or she absorbs them to heal 20% of her max HP. For the Inquisitor General, watch for his phase-2 transition where he raises his staff — that's your cue to break line-of-sight behind the burning crates to avoid the unavoidable AoE purge. Managing your 1666 Amsterdam magic cooldowns around these tells is essential, as mistimed spells leave you vulnerable to the exact attacks these mechanics telegraph.
-
Phase transitions that change attack patterns at 50% and 25% health.
-
Add spawns that appear during the fight, forcing you to manage multiple threats.
-
Environmental hazards that the boss can trigger, turning the arena against you.
The night combat guide breaks down each boss encounter into its own dedicated section, with precise positioning advice for every confirmed fight—for example, keeping the first Originals boss near the central brazier to interrupt its fire-phase channel, or maintaining a mid-range arc against the second to bait its telegraphed lunge away from the arena's edge. The core principle remains patience above all: bosses in 1666: Amsterdam punish greed more than any other mistake, and a single over-extended combo or mistimed dodge can instantly erase half your health bar, forcing a reset that costs more time than waiting out the punish window ever would.
Practical Combat Tips and Advanced Techniques
Beyond the core mechanics, several advanced techniques separate average players from those who can clear the hardest night encounters without taking damage. These tips come from community testing and prologue impressions shared on the Steam Community hub, and they've been verified across multiple playthroughs.
Stamina Regeneration and When to Hold Ground
Stamina is the silent killer in 1666 Amsterdam combat. Every dodge, attack, and sprint consumes stamina, and running out mid-fight leaves you completely vulnerable. The key insight is that stamina regenerates faster when you're standing still — roughly 30% faster than when moving, according to community testing. This creates a rhythm of burst movement followed by brief pauses to recover.
-
Dodge costs 15% stamina — three consecutive dodges leave you nearly empty.
-
Heavy attacks cost 25% stamina — reserve them for guaranteed openings.
-
Sprint costs 10% per second — only use it to close distance or escape, never to reposition mid-fight.
-
Stamina regenerates to full in 4 seconds when standing still, 6 seconds when moving.
Environmental Awareness
The handcrafted Amsterdam environment isn't just set dressing — it's a combat tool. Barrels explode when hit with fire spells. Chandeliers can be dropped on enemies. Narrow alleys funnel enemies into predictable paths, making them easy targets for area-of-effect spells. Players who treat the environment as part of their arsenal report significantly easier fights.
The day/night cycle also affects the environment. Some areas that are safe during daylight become hazard zones at night, and certain enemies only appear in specific locations after dark. Learning these patterns through exploration is essential for planning efficient night routes.
The Two-Second Rule
A simple heuristic that improves combat performance across all enemy types: after any successful dodge or parry, you have roughly two seconds where the enemy is recovering. Use this window to land exactly one attack or cast one spell, then reset to a defensive stance. Trying to land two attacks in this window leaves you vulnerable to the enemy's counter-attack, because the recovery animation doesn't fully protect you.
This rule sounds simple, but it's the foundation of no-damage runs. Players who internalize the two-second window find that combat becomes far more deliberate and far less chaotic. It also naturally builds Esbat faster, because successful dodges and parries contribute to the meter.
Frequently Asked Questions
What is the best starting strategy for 1666 Amsterdam combat?
Focus on the investigation phase first. Mark every enemy you can identify during the day, because this makes night encounters significantly easier. Use Aaron to eliminate patrol enemies silently, saving Noa's Esbat for the Originals that require magical damage. This hybrid approach conserves resources and reduces overall risk.
How does the Esbat meter work in combat?
The Esbat meter fills when you perform successful dodges, parries, and melee attacks. It drains when you cast spells, with different spells costing different amounts. The meter does not regenerate passively outside combat, so you need to build it during each encounter. Chaining perfect dodges fills the meter noticeably faster than taking hits.
Can I play the entire game as one character?
Technically yes, but you'll face unnecessary difficulty. Certain enemies are nearly impossible to defeat with the wrong toolkit — Wisps are extremely hard to hit with Aaron's melee attacks, while Brutes shrug off most of Noa's basic spells. The game is designed around switching between both protagonists, and players who embrace that design have a much smoother experience.
What are the most common beginner mistakes in combat?
The biggest mistakes are wasting high-cost spells on unconfirmed enemies, draining stamina with excessive dodging, and ignoring the environment. Always cast Reveal before spending significant Esbat. Manage your stamina with the two-second rule. And remember that barrels, chandeliers, and narrow alleys are all combat tools.
Is stealth always better than direct combat?
No. Stealth is safer for thinning enemy numbers before night confrontation, but direct combat is faster once Noa's Esbat meter is full and you have a clear plan. Use Aaron's feline abilities to isolate targets, then switch to witchcraft bursts against remaining Originals to balance speed and risk.