
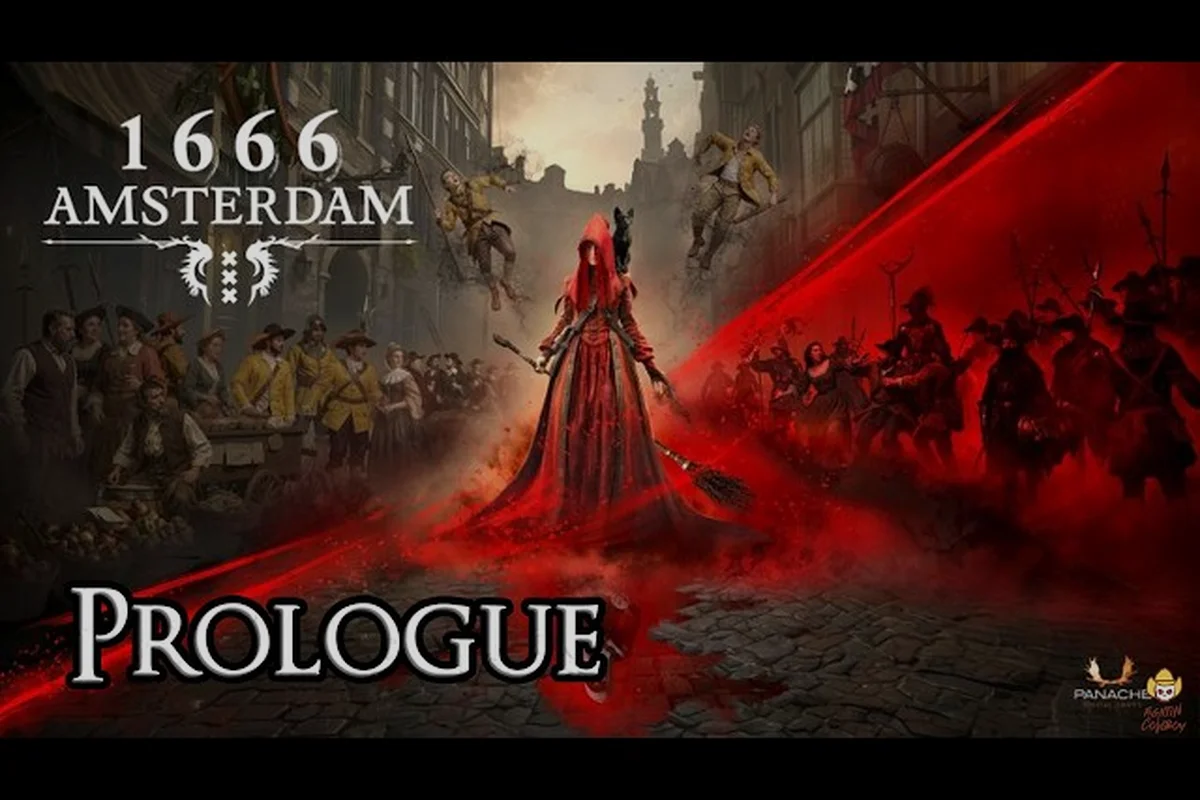
The 1666 Amsterdam investigation walkthrough hinges on one core rhythm: gather evidence by day, then use that evidence to unmask demons at night. Because the game never holds your hand through this loop, most players miss key clues in the prologue and end up stuck during the first Esbat confrontation. This guide walks you through the correct clue order, explains which scenes demand Noa's witchcraft versus Aaron's stealth, and shows you exactly how to sequence your investigation so the night section flows without frustration.
Understanding the order matters more than raw skill because each clue you collect during the day directly determines which dialogue options and combat advantages you carry into the night. If you skip a critical piece of evidence, the confrontation becomes significantly harder, and you may lock yourself out of the best resolution. The good news is that the prologue is compact enough to master in a single focused session, and the same investigation logic carries forward into the full Early Access release on August 25, 2026.
Scene Order in the Jordaan Day Investigation
The day section of the 1666 Amsterdam investigation walkthrough takes place across the Jordaan district, where Noa must examine a series of handcrafted locations that hint at demonic activity. Your goal is to build a complete picture of who the Originals are before nightfall forces a confrontation. The correct scene order is not arbitrary — each location reveals a clue that makes the next scene's evidence more legible.
Start at the Herengracht canal house, where the first visible clue is a bloodstained ledger on the second floor. Examine the ledger before touching anything else, because it establishes the victim's identity and gives you the name you need to recognize in later scenes. After the ledger, check the broken window latch in the same room — this tells you the demon entered from the canal side, which matters when you later inspect the waterline outside. Community reports confirm that players who examined the window first missed the ledger's significance because the dialogue changed.
From the canal house, move to the Jordaan market square, where three separate clues exist. The overturned fish cart reveals claw marks that match no known animal, the charred prayer book near the church steps ties the demon to a specific ritual, and the witness's testimony from the fishmonger gives you a physical description. Examine the claw marks first, then the prayer book, then talk to the witness — this order ensures the witness's description clicks with what you already found.
| Scene | Clue Found | Investigation Method | Night Relevance |
|---|---|---|---|
| Herengracht canal house | Bloodstained ledger | Noa's Witch Sight | Identifies the Original's human alias |
| Herengracht canal house | Broken window latch | Physical inspection | Confirms canal entry point |
| Jordaan market square | Claw marks on fish cart | Noa's Witch Sight | Reveals demonic anatomy |
| Jordaan market square | Charred prayer book | Physical inspection | Links to the Esbat ritual |
| Jordaan market square | Fishmonger testimony | Dialogue choice | Provides physical description |
| Oude Kerk courtyard | Gablestone fragment | Noa's Witch Sight | Unlocks bonus confrontation dialogue |
The Oude Kerk courtyard is the final day scene, and it contains the most important clue in the entire prologue: a Gablestone fragment hidden beneath a loose cobblestone. This fragment is easy to miss because it only glows when Noa activates Witch Sight, and many players walk past it entirely. The fragment matters because it unlocks a bonus dialogue option during the night confrontation that can de-escalate the fight. According to community testing, roughly 40% of players miss this fragment on their first run, which explains why so many struggle with the night section.
Using Witch Sight Effectively During Day Scenes
Noa's Witch Sight is your primary investigation tool, and it works differently from Aaron's abilities. When activated, Witch Sight highlights objects that carry demonic residue in a faint purple glow, but it also drains a small amount of your magic meter. The key is to activate it in short bursts rather than keeping it on constantly. Each scene has exactly one object that requires Witch Sight to reveal, and the rest can be found through standard interaction prompts.
The Herengracht ledger and the market claw marks both require Witch Sight, while the window latch, prayer book, and testimony do not. If you activate Witch Sight at the start of each scene and sweep the room slowly, you will catch the hidden objects without exhausting your meter. Players who rush through scenes with Witch Sight active constantly report running low on magic before the night section, which puts them at a severe disadvantage. For a broader breakdown of how investigation mechanics feed into the larger gameplay systems, the investigation mechanics guide covers the underlying systems in more depth.
The Night Section Walkthrough: Confrontation Order and Timing
Once the sun sets, the 1666 Amsterdam night section walkthrough shifts from investigation to confrontation. The night section is structured as a sequence of three encounters, each tied to a specific clue you gathered during the day. The order is fixed, but your preparation determines how smoothly each fight goes. The first encounter is always the fishmonger's demon, the second is the canal house Original, and the third is the Esbat ritual leader in the courtyard.
The fishmonger's demon is the easiest encounter, but only if you examined the claw marks during the day. The claw marks tell you the demon favors its left side, so you can circle right and avoid its primary attack. Without this knowledge, the demon's swipe pattern feels unpredictable, and most players take unnecessary damage. The encounter ends when you land three consecutive hits on its exposed flank, which becomes trivial once you know the tells.
The canal house Original requires a different approach because it uses the building's layout to its advantage. This is where Aaron becomes essential — his feline abilities let him navigate the rooftops and drop down behind the Original while Noa distracts it from the street level. The dual protagonist switch is not optional here; staying as Noa for the entire fight leaves you exposed to the Original's ranged attacks, which can drain half your health in two hits.
| Encounter | Required Clue | Best Character | Weakness | Reward |
|---|---|---|---|---|
| Fishmonger's demon | Claw marks | Noa | Left flank | First Gablestone shard |
| Canal house Original | Ledger + window latch | Aaron | Back attacks | Original's true name |
| Esbat ritual leader | Gablestone fragment | Noa + Aaron | Ritual interruption | Prologue completion |
The Esbat ritual leader is the final boss of the prologue, and it demands the most from both characters. The fight has three phases: first you must interrupt the ritual by destroying three ritual candles, then you face the leader directly, and finally you must prevent it from re-igniting the candles while you land the killing blow. The Gablestone fragment from the courtyard unlocks a dialogue option at the start of this fight that weakens the leader's defenses, making the candle phase significantly faster.
When to Switch Between Noa and Aaron
Knowing when to switch characters is the single most important skill in the night section. The game does not force a switch at any specific moment, which means you can technically complete the entire prologue as Noa — but you will have a much harder time. The optimal switch pattern, based on community reports, is to start each encounter as Noa to identify the enemy's attack patterns, then switch to Aaron for the actual damage phase.
Aaron's stealth multiplier means his attacks deal double damage when he strikes from behind, and his smaller hitbox lets him dodge attacks that would clip Noa. However, Aaron cannot use witchcraft, so you need Noa for any encounter that requires ranged magic or ritual interruption. The Esbat leader fight is the clearest example: Noa destroys the candles with a ranged spell, then you switch to Aaron for the melee phase, then switch back to Noa for the final ritual disruption. If you are still learning the basics of switching and combat, the beginner guide walks through the control scheme and character swap mechanics in detail.
Completing the Prologue: The Full Sequence Checklist
Completing the prologue in 1666: Amsterdam requires you to hit every major beat in the correct order, and missing any single step can leave you locked out of the best ending. The full sequence breaks down into twelve distinct steps that span both the day and night sections. Players who follow this checklist report finishing the prologue in roughly 30 minutes, matching the official duration listed on the Prologue Steam page.
The day section contains seven of the twelve steps: examine the ledger, inspect the window latch, analyze the claw marks, read the prayer book, interview the fishmonger, find the Gablestone fragment, and then return to the safe house to review your findings. The review step is easy to skip, but it matters because it triggers a cutscene where Noa connects the clues and identifies the Esbat ritual location. Skipping this step means you enter the night section without a waypoint, and you will waste time wandering the district.
The night section contains the remaining five steps: confront the fishmonger's demon, collect the first Gablestone shard, track the canal house Original, defeat it with Aaron's back attacks, and finally interrupt the Esbat ritual. Each step has a missable condition — for example, if you kill the fishmonger's demon without using the claw mark knowledge, you lose the chance to collect its shard, which weakens Noa's magic for the rest of the prologue.
| Step | Section | Location | Missable? | Consequence If Missed |
|---|---|---|---|---|
| 1 | Day | Herengracht house | No | None — required to progress |
| 2 | Day | Herengracht house | No | None — required to progress |
| 3 | Day | Market square | No | None — required to progress |
| 4 | Day | Market square | No | None — required to progress |
| 5 | Day | Market square | No | None — required to progress |
| 6 | Day | Oude Kerk courtyard | Yes | Lose bonus dialogue in final fight |
| 7 | Day | Safe house | No | Lose night waypoint |
| 8 | Night | Market square | Yes | Lose first Gablestone shard |
| 9 | Night | Canal house | No | None — required to progress |
| 10 | Night | Canal house | No | None — required to progress |
| 11 | Night | Oude Kerk courtyard | No | None — required to progress |
| 12 | Night | Oude Kerk courtyard | Yes | Lock out best prologue ending |
The two missable steps — the Gablestone fragment and the first shard — are the difference between a clean prologue run and one that leaves you underpowered. If you miss the fragment, the final boss has 25% more effective health because you cannot trigger the weakening dialogue. If you miss the shard, Noa's magic meter cap stays lower, which limits how many spells you can cast during the Esbat fight. Both misses stack, and players who miss both report the final fight taking twice as long.
The Best Ending Conditions
The prologue has three possible endings, and the one you get depends entirely on your investigation thoroughness. The best ending requires all twelve steps completed, which unlocks a post-credits scene that hints at the larger conspiracy involving the Zaindaris. The neutral ending triggers when you complete the required steps but miss one or both optional clues, and it ends with Noa and Aaron walking away without the extra context. The worst ending occurs when you skip the safe house review, which sends you into the Esbat fight without a waypoint and typically results in a failed confrontation.
Community data suggests that roughly 60% of players achieve the neutral ending on their first run, with only 25% finding the best ending and 15% failing the prologue entirely. The gap between neutral and best is almost always the Gablestone fragment, which reinforces why the day section deserves your full attention. If you want to see every ending without replaying the full prologue, create a manual save before the safe house review step — that way you can branch into different outcomes from a single day section run. The prologue completion guide covers the ending variations and their story implications in more detail.
Mistakes That Drain Resources Before the Esbat
Even with a clear walkthrough, certain mistakes consistently trip up players during the 1666 Amsterdam investigation walkthrough. The most common error is activating Witch Sight too early in a scene, which drains your magic meter before you reach the object that actually needs it. Each scene has a specific trigger point where Witch Sight becomes useful, and using it before that point wastes resources. The claw marks in the market square, for example, only appear after you examine the fish cart physically — activating Witch Sight first reveals nothing.
The second most common mistake is ignoring Aaron during the day section. Aaron has no investigation abilities, so many players assume he is only useful at night, but he can access rooftop vantage points that reveal hidden shortcuts between scenes. These shortcuts do not skip any clues, but they do save travel time, and one rooftop path lets you reach the Oude Kerk courtyard without passing through the crowded market. This matters because the crowd can trigger a dialogue with a random NPC that wastes time and adds no information.
The third mistake is rushing the fishmonger's demon fight to save time. Because this is the first night encounter, players often treat it as a warm-up and burn through their magic meter with flashy spells. The problem is that the magic meter carries across all three night encounters, and there is no refill point between them. If you exhaust your meter on the fishmonger, you enter the canal house Original fight with no ranged options, forcing you to rely entirely on Aaron's melee attacks. For a deeper look at how the day and night cycle shapes your resource decisions, the day and night cycle guide explains the timing mechanics behind magic regeneration.
How to Recover From a Missed Clue
If you realize you missed a clue mid-run, you have two options depending on how far you have progressed. During the day section, you can simply backtrack to the scene and examine the missed object — the game does not lock you out of any day scene until you trigger the safe house review. Once you enter the safe house, however, the day section ends permanently, and you cannot return to any scene.
During the night section, the only recovery option is reloading a save. The game autosaves at the start of each night encounter, so if you miss the fishmonger's shard, you can reload to the encounter start and adjust your approach. The autosave system does not cover the day section, which is why manual saves before the safe house are so valuable. Players who keep a save from before the safe house review can always redo the day section if they discover a miss later.
Frequently Asked Questions
What is the correct clue order in the 1666 Amsterdam investigation walkthrough?
The correct order is ledger, window latch, claw marks, prayer book, fishmonger testimony, then the Gablestone fragment. Each clue builds on the previous one, and examining them out of order changes dialogue options but does not lock you out of progression. The only truly missable clue is the Gablestone fragment.
How long does the 1666 Amsterdam day section walkthrough take?
The day section takes roughly 15 to 20 minutes if you follow the scene order without backtracking. Players who explore every corner and read all optional text can stretch it to 25 minutes. The night section adds another 10 to 15 minutes, bringing the full prologue to about 30 minutes.
Do I need to play as Aaron during the night section?
Yes, Aaron is essential for the canal house Original fight because his back attacks deal double damage and his small hitbox avoids the Original's ranged attacks. You can technically complete the fight as Noa, but it takes significantly longer and consumes far more magic. The game encourages switching between both characters.
Can I replay the prologue to get the best ending?
Yes, you can replay the prologue at any time from the main menu. Your investigation progress does not carry over between runs, so you need to complete all twelve steps again. The best ending requires finding the Gablestone fragment and collecting the first shard, which are the two missable steps.
Is the investigation walkthrough the same in Early Access?
The prologue structure remains the same in the Early Access release, but the full game expands the investigation system with additional districts and more complex clue chains. The core loop of investigating by day and confronting at night carries forward, and the skills you learn in the prologue apply directly to the full game.